I attended another Caprial + John cooking class last week, this one centered on Modern Pot Pies. This was held again at their Chef’s Studio 2818 S.E. Pine, and included
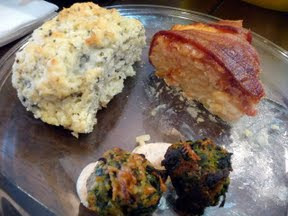
- Radicchio Salad with Black Pepper Fromage Blanc Dressing with toasted hazelnuts
- Braised Leek and Chicken Pot Pie with Crispy Potato Crust
- Pork and Lemon Pot Pie with Cheesy Mashed Cauliflower Crust
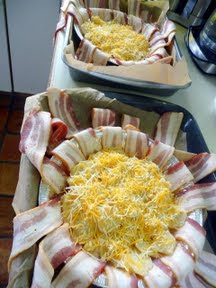
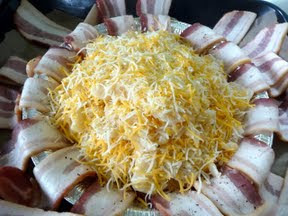
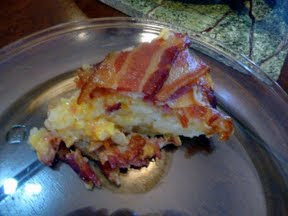
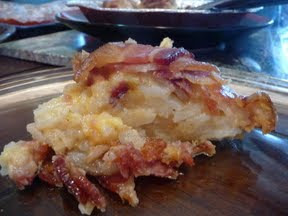
- Bacon and Herb Roasted Vegetable Pot Pie with Ricotta Cheese Crust
- Buttermilk and Lime Curd Layered Panna Cotta
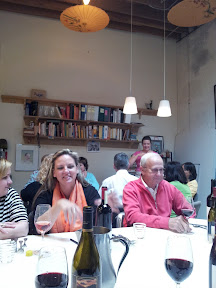
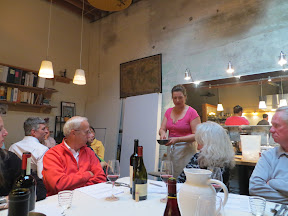
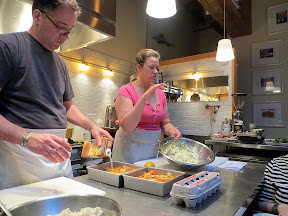
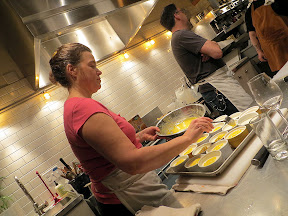
As usual, the class started with Cappy opening up various wines for the class- it is BYOB- so that us students could sip and swirl as they started teaching us the various courses that we would also be eating as our dinner. Recipes are already printed with our names for our places at the table so we can take notes as they cook and we drink.

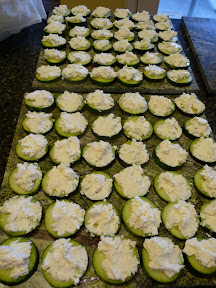
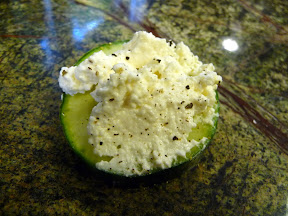
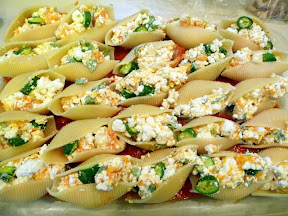
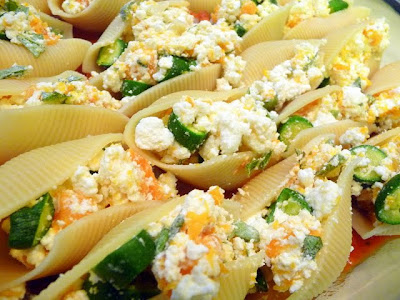
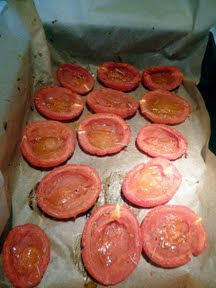
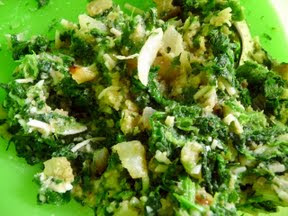
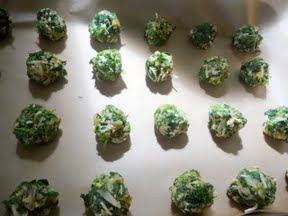
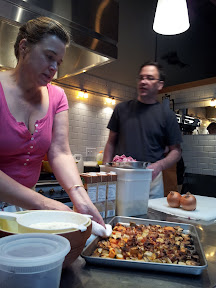
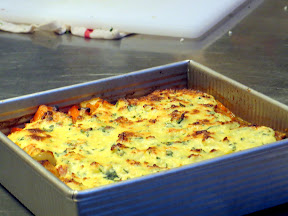
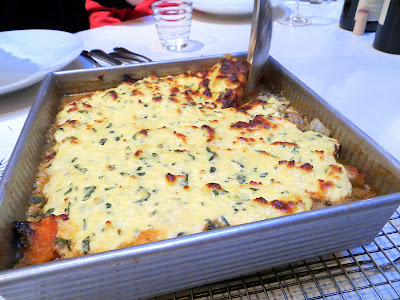
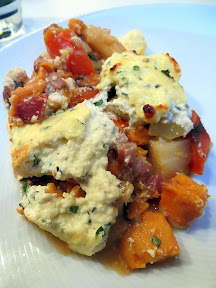
My favorite of the three pies was the Bacon and Herb Roasted Vegetable Pot Pie with Ricotta Cheese crust. The roasting of the vegetables just brought out a wonderful depth of flavor that I really liked and could make even for F and I (without the bacon). The vegetables in the recipe include onion, carrots, sweet potatoes, parsnips, fennel but Cappy talked about how she loves to throw in swiss chard or kale too, and I love that idea.
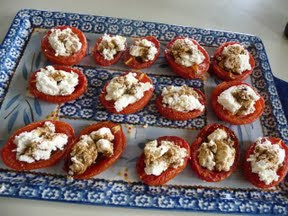
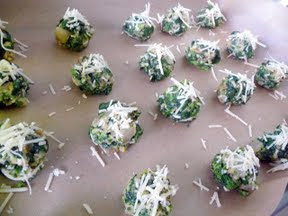
The vegetables were already roasted when we arrived as that takes more time, so mainly John and Cappy talked about creating the ricotta crust on top- and I totally agree that the topping alone just thrown with pasta would be delicious. Putting pieces of the recipe on pasta was mentioned a few times- perhaps because they happened during the class to be on day 5 of a no carbs no alcohol diet in preparing to rest their stomach and livers for an upcoming trip to France.
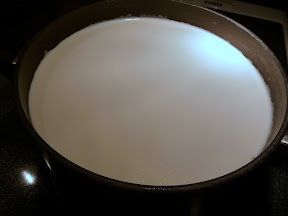
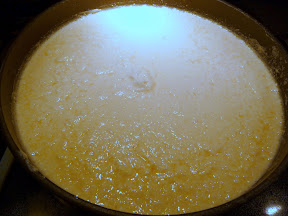
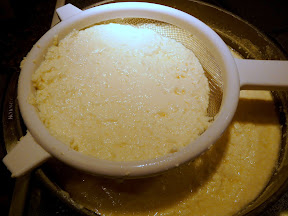
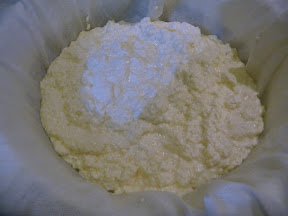
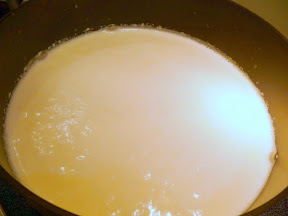
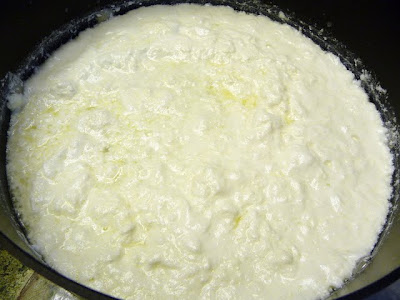
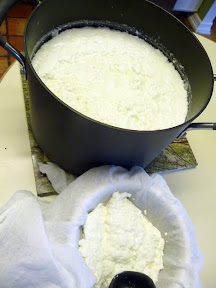
She also made her own ricotta for this recipe using milk, cream, and white vinegar, and talked about her obsession (which will soon become mine) with being able to recreate a baked ricotta dish (just plain pressed ricotta- not ricotta cake) and finally tracking it down in some Australian recipe.

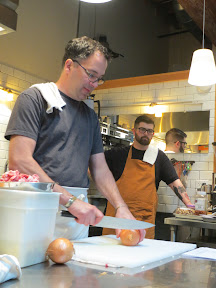
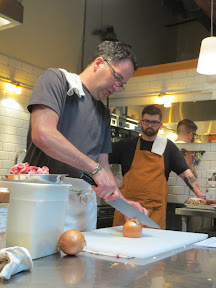
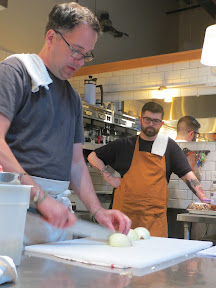
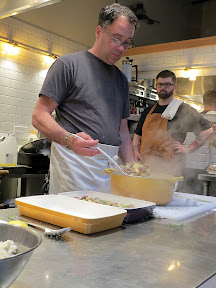
At the same time, the pork for the Pork and Lemon Pot Pie with Cheesy Mashed Cauliflower Crust was cooking and the cauliflower steaming away in the background: they are definitely multi-taskers in the kitchen. John showed us his trick to very efficiently dice an onion which includes flattening one side and not cutting fully through when doing the first rows so everything holds together at first until you cut the rows the other way.
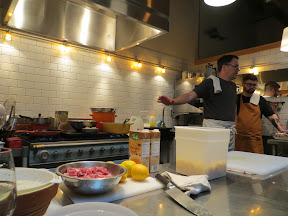
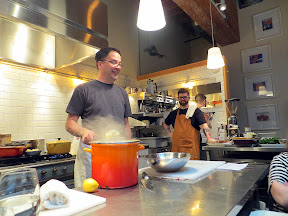
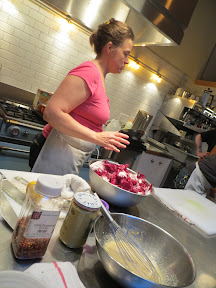
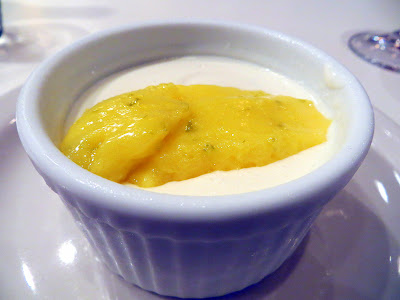
As John sauteed the pork and onions and added potatoes, Cappy talked to us about the panna cotta part of the Buttermilk and Lime Curd Layered Panna Cotta, specifically the combining of cream, sugar, gelatin, and buttermilk so that it would then have time to chill as we returned out attention back to the pies.

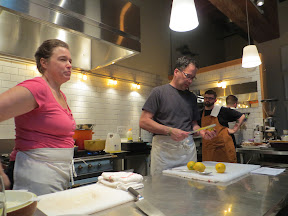
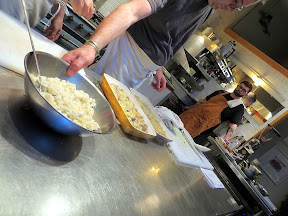
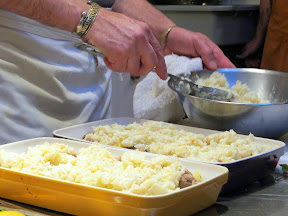
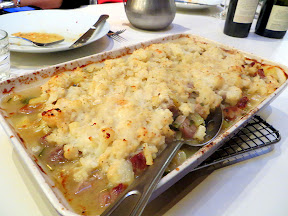
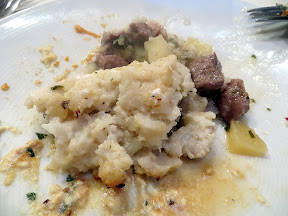
Back with the Pork and Lemon Pot Pie with Cheesy Mashed Cauliflower crust recipe workstream, John zested and squeezed lemons and prepared the mashed cauliflower crust with all its cheesyiness thanks to parmesan and goat cheese. We agreed we could enjoy that mashed cauliflower just as too.
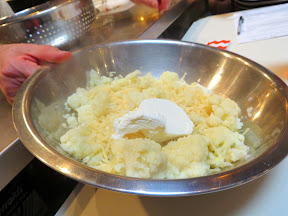
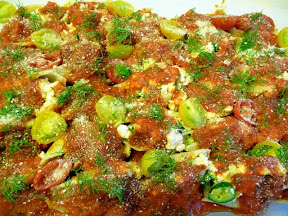
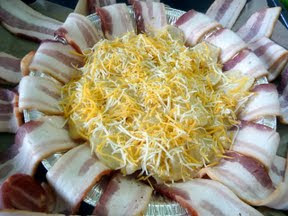
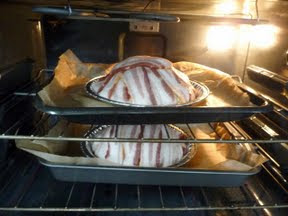
We finished the Bacon and Herb Roasted Vegetable Pot Pie with Ricotta Cheese Crust assembly and put it in the oven.

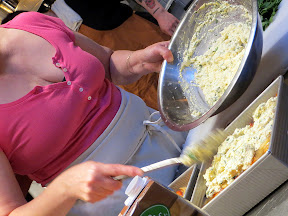

Meanwhile, the pork was ready to be placed in the pan and topped with the cauliflower mixture, and also put in the oven.
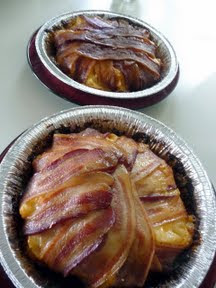
At this point the Bacon and Vegetable Pot Pie with Ricotta Crust was almost ready, so Cappy quickly talked through the importance of soaking the radicchio while John prepared the dressing and talked through how to attempt to fix the dressing if it breaks. And then it was time to eat the salad and that first pie!


The Pork and Lemon Pot Pie with Cheesy Mashed Cauliflower Crust didn’t seem as seasoned as it should be. In order to make it for a meal for vegetarian F, I will probably take their other suggestion which is to just make the cheesy mashed cauliflower and fry those into cauliflower cakes!
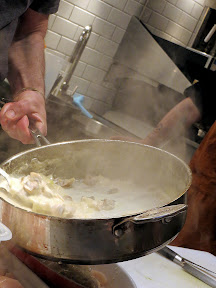
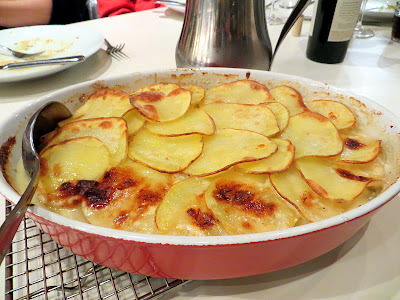
While we were eating the pork and lemon pot pie with mashed cauliflower, John showed us how to create the mushroom leek mustard and garlic white wine (well, they actually used vermouth) cream sauce for the Braised Leek and Chicken Pot Pie with Crispy Potato crust. I don’t have a mandoline, so although I like the idea I’m not sure when I’ll execute this recipe.


Everyone was close to drinking up every last drop of that Buttermilk and Lime Curd Layered Panna Cotta. Because it was not chilled overnight it was softer than a usual panna cotta, but all the flavors were there, and everyone liked how it wasn’t too sweet (thanks to the buttermilk) and was so light and refreshing. It’s a super simple dessert to make, although since F can’t have gelatin I wonder how agar will substitute in…
I always enjoy their classes and the little stories they tell and tricks and tips they offer that are outside what you would find in a recipe. They have classes once a week- check out their website to see the menus of their upcoming classes (they always create their own menu for the class), or see if you are interested in attending one of their monthly supper clubs!