So, I covered during most of this year the 6 chefwiches of Lardo. Each month usually around the 15/16th, there would be a new collaboration sandwich on the menu between Rick Gencarelli of Lardo and a guest chef, aka, a chefwich. Each chefwich has been rotating into the Lardo menus (either of the two Lardo locations, Lardo West in SW downtown or in Lardo East in the SE) over the past 6 months. For all the chefwiches a portion of the proceeds benefited a charity of the guest chef’s choice, and each chefwich was a limited time sandwich offer, only available for a month. Each chefwich could also net you a stamp on the chefwich card, and if you collected them all it offered you VIP access to the Chefwich Party (though you can also purchase a ticket in- and the party brought back all the chefwiches all at one time for an ultimate chefwich faceoff!)! I covered all the previous 6 sandwiches here at this blogpost.
Well, the Lardo Chefwich party has come and gone, but the Chefwich series continues! Starting off with #7 and going to #13 apparently, which means the next chefwich party will be in May?
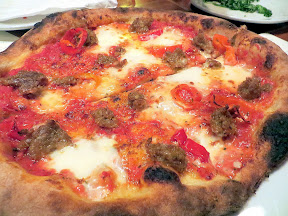
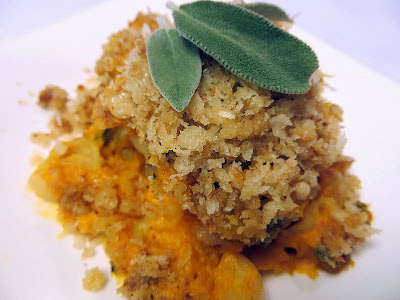
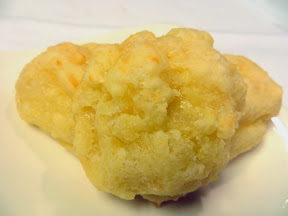
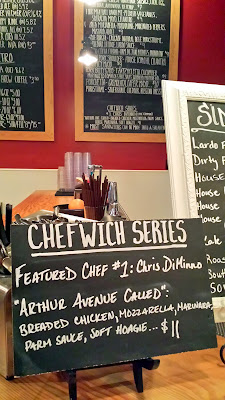
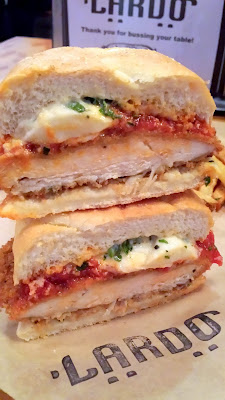
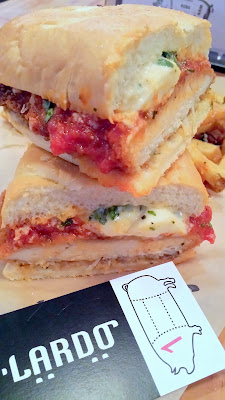
The chefwich series continues on by kicking off with The Chris DiMinno, formerly of Clyde Common. This sandwich has apparently been dubbed “Arthur Avenue Called” and is comprised of breaded chicken, marinara, mozzarella, parm sauce, soft hoagie… essentially a chicken parmesan. The charity of Chris’s choice is The Bicycle Transportation Alliance which works to promote bicycle use and improve bicycling conditions to make bicycling safe, convenient and accessible.
Update 12/17 The next chefwich is out: Adam Sappington of Country Cat‘s chefwich of a Cattail Creek Lamb Burger with smoked tomato jam, fennel slaw, and havarti cheese will benefit the Oregon Humane Society. Goddamit, Lardo you are making me a sandwich addict.
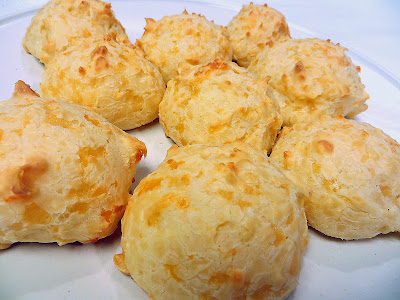
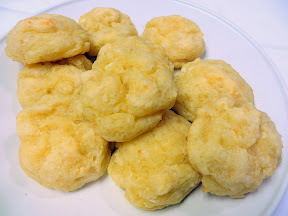
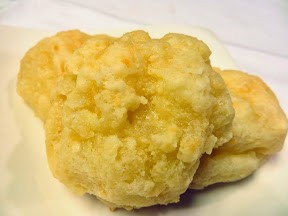
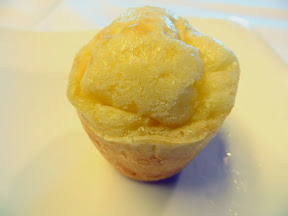
But let’s just get to the sandwich photo porn from chefwich #1 shall we?
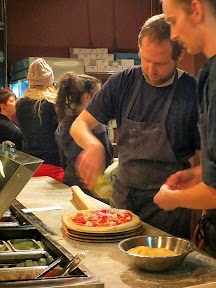
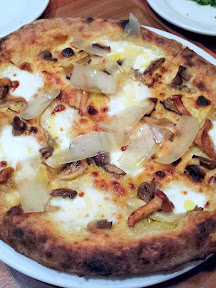
Rick Gencarelli hasn’t just been collaborating on sandwiches however. Oven & Shaker is also now doing a chef series, but with pizzas. The first chef pizza at Oven & Shaker was in collaboration with Rick, and turned Lardo’s mortadella sandwich into pizza form with a Mortadella pie. This pizza started with an olive oil, oregano, and garlic base topped with provolone picante, Mama Lil’s peppers, and mortadella, and then was topped after the wood fired oven with shredded lettuce and dressing. Their schedule is different than Lardo’s by doing beginning-end of the month rather than Lardo’s mid-month change-up. Oven & Shaker doesn’t have a punchcard, but they also donate some of the proceeds to the collaborating chef’s charity of choice. Last month, November, it was Ecotrust’s Farm to Schools.
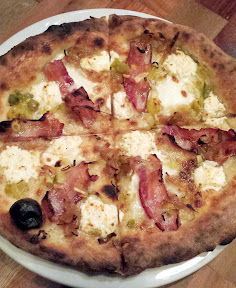
This month, December, the collaboration chef is Greg and Gabrielle Denton of Ox with a Clam Chowder Pie with split bone marrow and jalapeno. Clearly the Oven & Shaker series is going after some signature dishes with the guest chef. I’m planning to go there next week, so stay tuned!